What to Do Before Trading In a Phone

On this page

Before trading in a phone, verify that your important data and account access work elsewhere, transfer your mobile service, remove ownership accounts using the manufacturer’s instructions, and erase the old device. Then remove any physical SIM and memory card and document the handover. A factory reset deletes local data. Do not erase the only working copy of your files or your only way to receive sign-in codes just because a shop is waiting.
Prepare at home where you can check things calmly. The counter is a poor place to discover that a backup never finished.
Agree the trade-in terms before preparing the handover
Confirm which handset and storage variant the offer covers, what condition has been disclosed, who will inspect it and when the value becomes final. Ask whether a revised valuation lets you decline the deal. Keep the seller or programme’s written conditions rather than assuming that every shop uses the same policy.
Use the MobileFone model directory to identify the replacement accurately, then the phone comparison page to organise the features you need. Neither gives you a guaranteed trade-in valuation. Check the actual offer for the old phone and the complete price of the replacement separately.
Photograph the old phone’s condition and privately record its model, relevant IMEIs, agreed accessories and disclosed faults. These notes help connect a later inspection or receipt to the handset you supplied. Do not include private screen content in condition photographs.
Verify data and access before removal
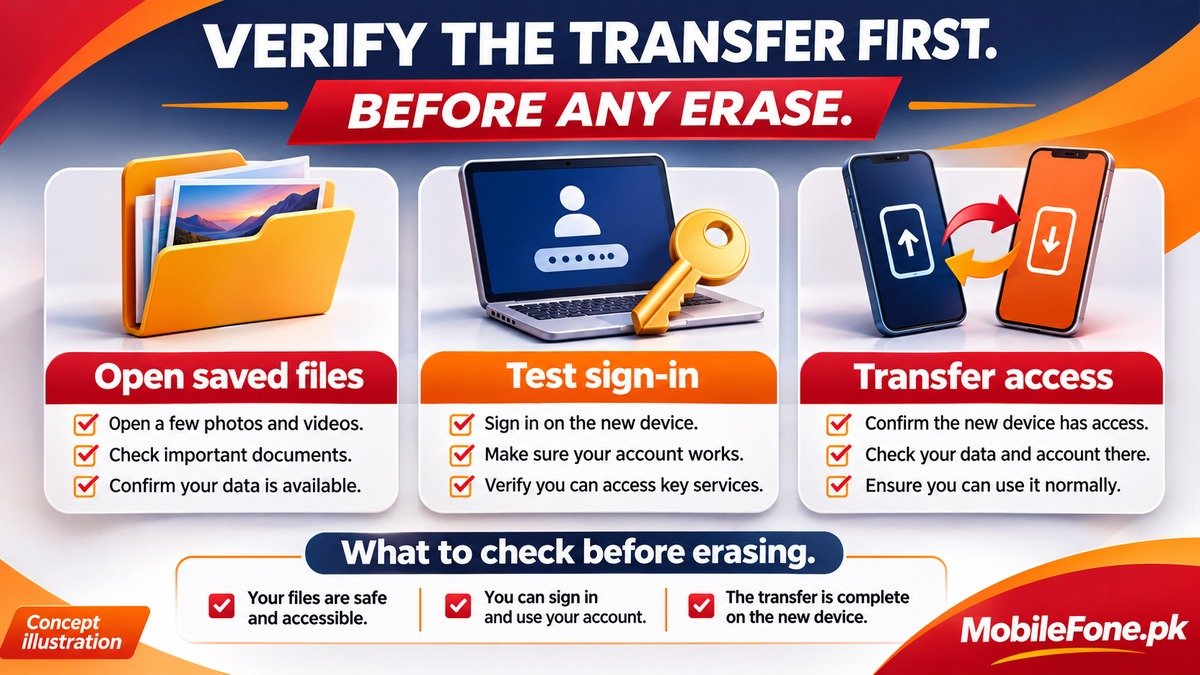
Start the appropriate backup and wait for it to finish. Google’s Android backup guide warns that not every app can restore all settings and data. Check photos, contacts, locally downloaded documents and important app content separately. A cloud icon or a backup switch being on is not enough evidence that the files you need are recoverable.
| Item | Evidence you need | Reason to delay |
|---|---|---|
| Photos and documents | Important saved files open from the intended backup or replacement | Files exist only on the old handset |
| Contacts and messages | Needed records appear in the correct account or supported transfer | Missing local contacts or an incomplete app transfer |
| Account access | You can sign in without depending solely on the old phone | Password, passkey or recovery method is unavailable |
| Mobile service | Your number and required service work on the intended device | The old eSIM is still your only working connection |
| Ownership accounts | The legitimate removal process can be completed | The phone requires an unavailable owner or organisation account |
Move authentication access before removing accounts. Google Authenticator’s guidance describes supported synchronisation and transfer options. Test an appropriate sign-in on the replacement and retain recovery methods privately. Do not photograph transfer QR codes for a shop assistant or assume a general phone backup includes every authenticator.
Banking apps, wallets and other protected services may require their own reactivation steps. Follow the actual provider’s process while you still control your number. If access is uncertain, postpone erasure; do not give a buyer your password or one-time codes to complete the transfer for you.
Transfer service and deal with ownership protection
Move the physical SIM to the intended replacement or arrange the supported eSIM transfer with your operator. Confirm the required calls or messages work before removing the old service profile. Apple’s eSIM-erasure guidance separates removing a profile from cancelling the mobile plan; clarify any service or billing change directly with the operator.
On Android, remove your Google accounts through Settings before the handover reset, following the device maker’s instructions. Google’s old-device reset checklist places account removal before erasing. Manufacturer accounts can need separate attention. A work-managed or financed handset may also have restrictions; settle them with the legitimate organisation or provider rather than trying to bypass them.
Google’s device-protection explanation shows why this matters: an improperly transferred protected phone can still require previous credentials after a reset. Removing an account from the handset is different from deleting the entire online account. You normally want to keep your account for your replacement phone.
- Finish supported chat, authenticator and wallet transfers before losing access to the old device.
- Keep recovery codes and identification documents private throughout the sale.
- Unpair linked accessories where the manufacturer’s handover guide requires it.
- Resolve ownership or management restrictions through the authorised owner.
Remove accounts and erase using the device guide
For iPhone, follow Apple’s before-sale checklist: complete backup and transfer, handle a paired Apple Watch, sign out as instructed for your software, and use the proper erase process. Do not manually delete synced photos or contacts while signed in just to “clean” the phone; those deletions can affect your cloud library and other devices.
On current supported iPhones, the erase route is Settings → General → Transfer or Reset iPhone → Erase All Content and Settings. Follow the ownership and eSIM prompts carefully. Sign Out But Don’t Erase, where offered, is not the completed handover erase. Keep the new device and verified copies safe before confirming deletion.
- Confirm your saved data, account access and mobile service on the intended replacement.
- Complete the legitimate account-removal and accessory-unpairing steps for your device.
- Use the manufacturer’s Settings-based full factory-reset or erase procedure.
- Allow erasure to finish, then confirm the initial setup screen appears without signing your personal accounts back in.
- Remove physical SIM and removable storage, and complete the documented handover.
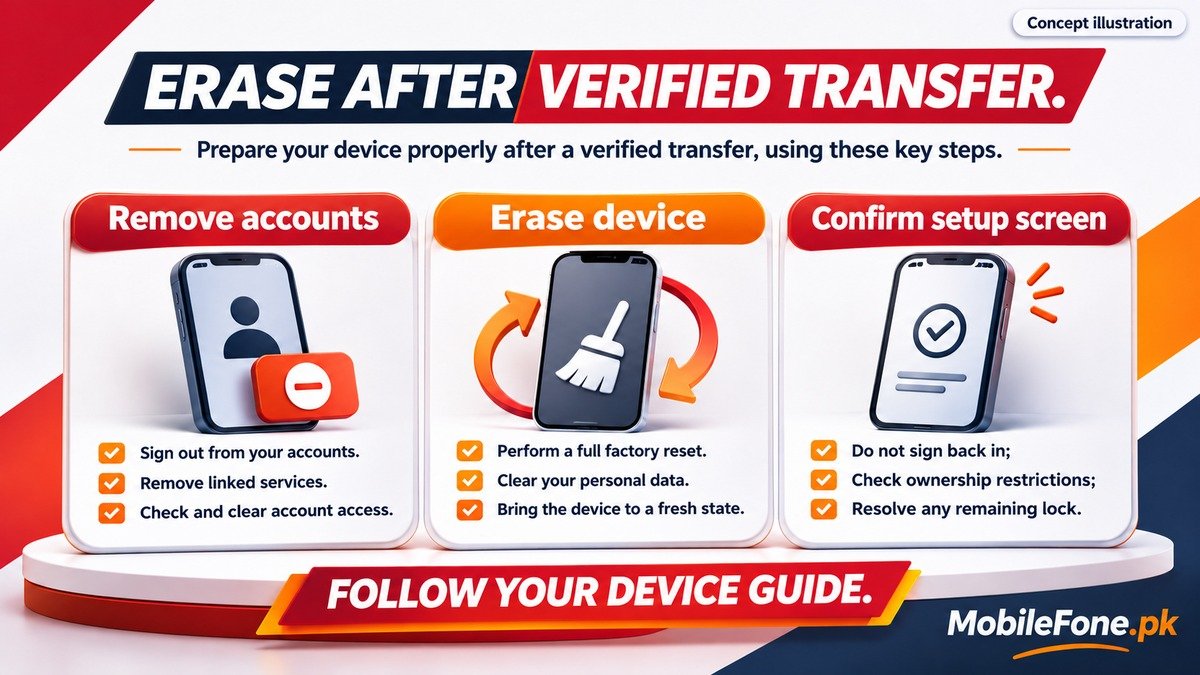
Android reset menus vary. Google’s factory-reset guidance recommends the manufacturer’s device-specific procedure and explains the data-loss implications. A reset of network settings or app preferences is not the full data erase needed for handover. Do not use an unfamiliar recovery-menu shortcut to work around an account problem.
Complete the handover with evidence
Check that the recipient can proceed with legitimate setup without your personal credentials. An opening setup screen alone does not prove that every ownership restriction has been removed. If the phone still asks for an unavailable previous account, resolve that through official support before handing it over as ready for a new owner.
Get a receipt identifying the handset, agreed value or credit, recipient and date. Retain the inspection record and payment evidence privately. For a damaged phone that cannot be safely powered on or erased, ask the manufacturer or authorised trade-in provider about its secure handling process before surrendering it.

Related reading
 Mobile Problems & FixesAndroid Phone Running Slow: What to Check FirstNovember 14, 2026
 Mobile Problems & FixesPhone Keeps Restarting: Common Causes and Safe FixesNovember 14, 2026
 Mobile Problems & FixesPhone Turns On but Screen Stays BlackNovember 14, 2026
 Mobile Problems & FixesMobile Speaker Not Working During CallsNovember 14, 2026