How to Back Up Contacts to a Google Account

On this page
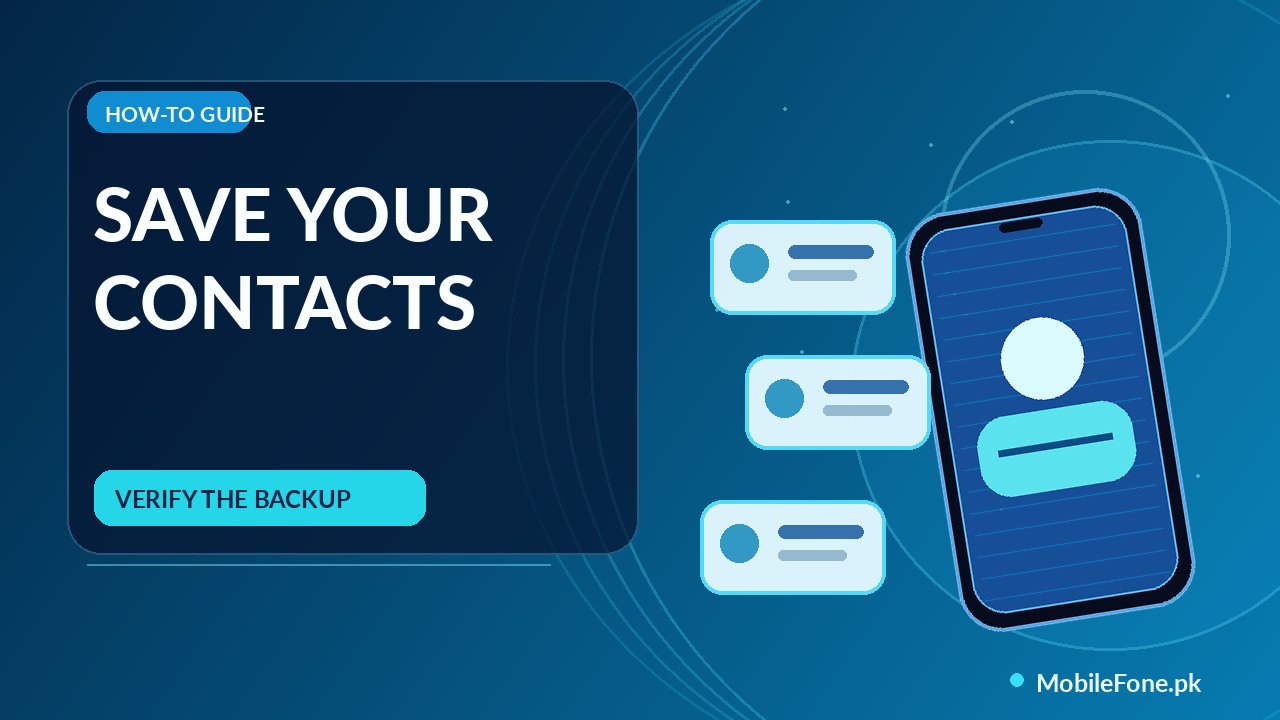
To back up Android contacts to a Google account, first check where each contact is saved. Contacts already stored as Google contacts normally sync when the correct account is signed in, but phone-only and SIM contacts may need to be copied or included in a separate backup setting. Do not start by deleting the Contacts app’s data. Verify that your numbers appear in Google Contacts, then export a separate VCF contact file if these records are important.
First identify the account that owns your contacts
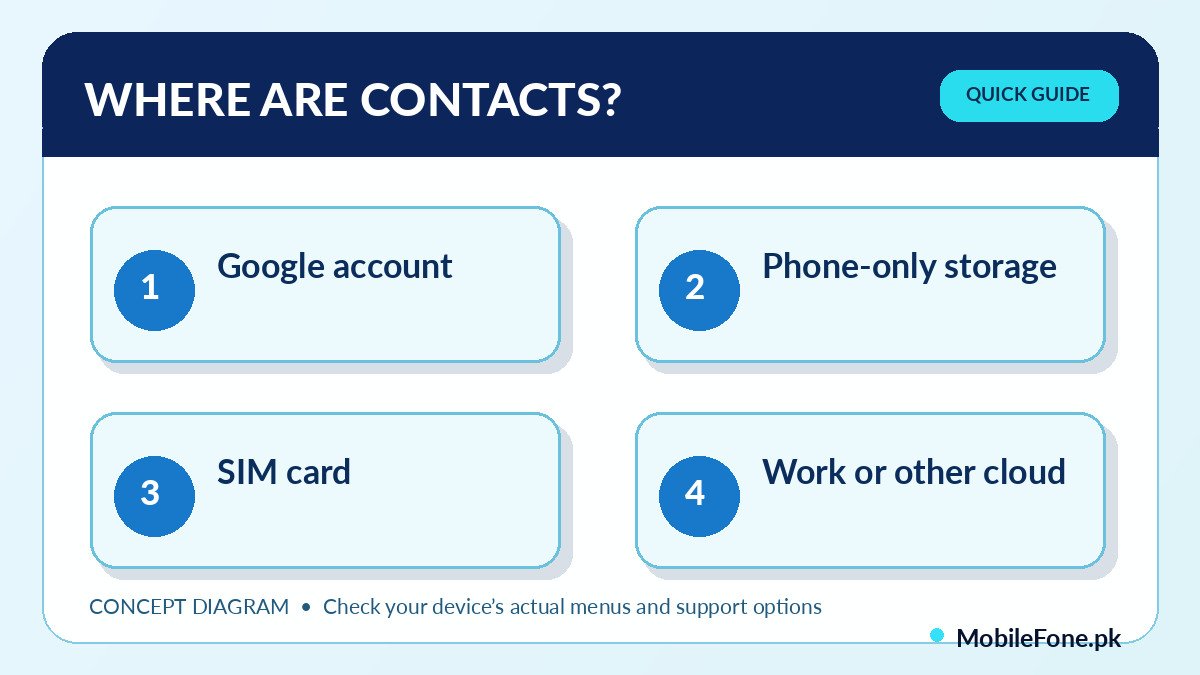
Most Android phones can show contacts from several places at once: a personal Google account, another Google account, the device’s local storage, a SIM card or a work service such as Exchange. A combined Contacts list looks convenient, but it can hide which account will receive a backup. If you sign into a replacement phone using the wrong Google account, a list that looked complete on the old handset may appear empty on the new one.
Open your Contacts app and inspect its account or list filters. Some apps show a “Saved to” field when you open and edit an individual contact. Google’s device-and-SIM contact guidance explains that local contacts do not necessarily sync with Google services. That is why simply turning on a general phone-backup switch is not an adequate test for every number.
| Saved location | Google sync | Useful next check |
|---|---|---|
| Personal Google account | Usually syncs automatically when enabled | Confirm the correct account at contacts.google.com |
| Phone-only storage | Not necessarily included | Use supported device-contact backup or export |
| SIM card | May require a specific backup setting | Import or enable supported SIM contact sync |
| Work or school account | May have administrator restrictions | Follow organization-approved export rules |
| Exchange or other cloud | Separate service’s sync settings | Check the original service, not only Google |
Turn on supported device and SIM contact sync
For supported Android phones, Google documents a route through Settings, your Google profile or Google, All services, Google Contacts sync, then the appropriate backup/sync controls. Select the personal Google account you intend to use and enable backup of device-only and SIM contacts when that option is available. The exact labels vary with Android version, Google Play services, brand and work-profile policies.
- Connect to Wi-Fi and open Settings on the old phone.
- Open Google services or your Google profile and find Google Contacts sync.
- Select the account that should hold your personal contacts.
- Enable the supported device-only and SIM contact backup setting.
- Give sync time to finish and confirm several contacts in the destination Google account.
Google notes that automatically saving phone and SIM contacts can be limited by device make and model. Its guidance also excludes certain child and work or school accounts. If the expected option is absent, do not install an unknown contacts utility or start changing hidden system settings. Export the records or use the manufacturer’s documented contact import feature instead.
Verify the backup from outside the phone
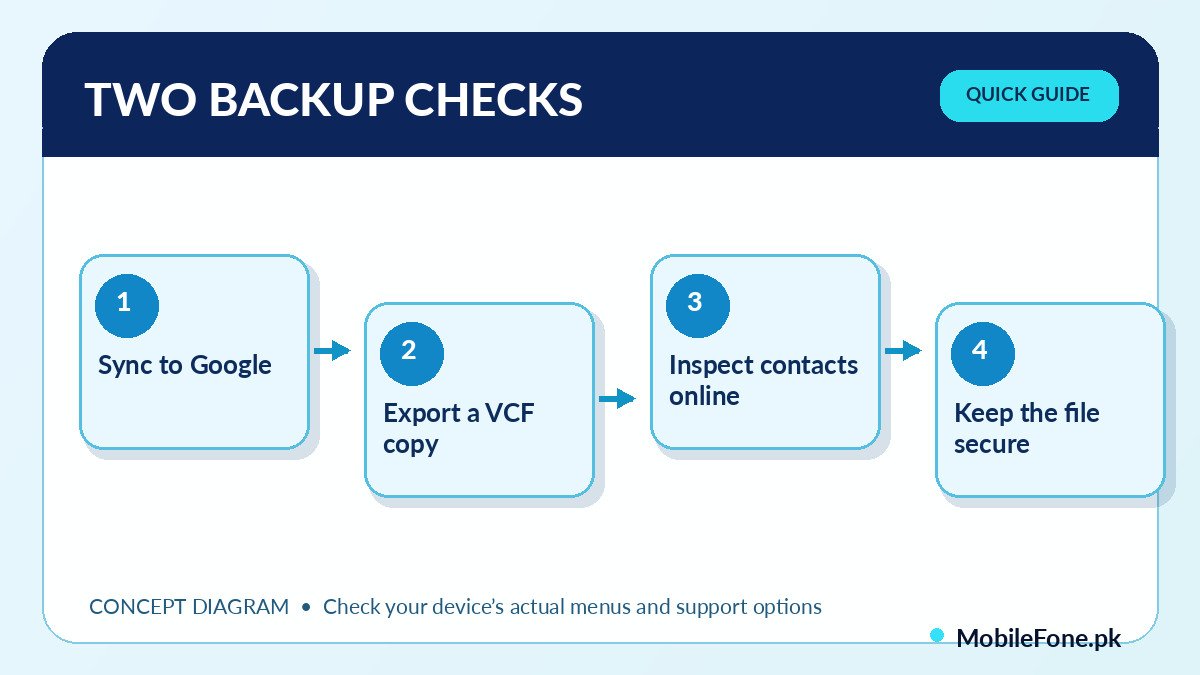
The strongest practical check is to open Google Contacts on the web in a browser, signed into the same account, and search for several important names and phone numbers. Check a recently created contact and one older phone-only entry. This helps separate “I can see the contacts on the phone” from “I can restore them after losing the phone.” Contacts from a work directory may not appear in a personal Google account, which is expected.
Then test the account on another device only if you can do so without disturbing someone else’s settings. Make sure you know the account password and an accessible recovery method before resetting or replacing a handset. If you are planning to change devices, you can compare models in the MobileFone mobile directory; contact portability depends on the account and backup, not which phone has the larger display.
Export a VCF file as a separate safety copy
Sync is convenient, but a second copy gives you more control. Google’s Contacts export instructions explain how the Contacts app can export selected contacts into a .VCF file. The actual menu can be called Fix & manage, Organize, Export or something similar depending on the installed Contacts version. Select the correct source account or list before exporting.
- Give the export file a meaningful name and remember which Google account it came from.
- Store it in a trusted folder, encrypted backup or private storage you control.
- Avoid emailing a full address book to unknown services; VCF files contain personal names and numbers.
- Keep the VCF until you have checked successful restore or sync on your next phone.
Do not import the VCF back into an already synchronized account without reviewing duplicates. Otherwise, the same contact can appear twice or several phone numbers may become separate entries. Some duplicates are caused by simultaneous display of multiple accounts, rather than repeated records in one account.
What if a contact is still missing?
Start by checking the selected account, filters, hidden lists and sync status. A contact stored on an old SIM can remain there after you switch to eSIM; a number created inside a messaging app may not have been saved as a normal address-book contact. If a cloud service manages a contact, restore it from that service rather than expecting Google to copy it automatically. Google’s sync explanation confirms that Google contacts sync across devices when the signed-in accounts match.
Do not clear Contacts Storage, remove accounts or factory-reset the phone to “force” a backup. Those actions can remove locally stored information from the device. Back up the source first, test the cloud copy and only then investigate sync errors. If you are selecting a replacement phone, check the recently listed models separately for storage and SIM choices; contact safety comes from verified copies, not the new handset’s marketing claims.
Before you retire the old phone
Search the web copy of your contact list, keep a protected VCF export and confirm you can sign into the Google account from the new device. Also preserve recovery codes for accounts that send verification to the old number. After those checks, you can move on to cleaning or resetting the old phone with much less risk. A visible address book is not a backup until another copy can be opened independently.