How to Transfer Phone Photos Without Losing Quality

On this page

To transfer phone photos without losing quality, move the original image files rather than copies resized by a messaging app or a cloud service’s storage-saving setting. A USB file transfer, a supported full-resolution device-to-device transfer, or a cloud backup explicitly set to Original quality can preserve the source image. The safest method depends on whether both phones are Android, both are iPhones, or you are switching platforms. Always verify a sample of files on the destination before deleting the originals.
Understand what “without losing quality” really means
Photo quality is not only the number of megapixels. Resolution, file format, compression, color profile, depth information, edits and metadata can all matter. A 12MP image can retain its pixel dimensions but still become a smaller, recompressed JPEG after sharing. Conversely, an HEIC photo converted to JPEG may look similar while no longer being the same original file. If you want a reliable archive, preserving the original file matters more than whether the thumbnail looks sharp.
Google explains that Original quality in Google Photos keeps the uploaded resolution and does not change the photo’s quality, while Storage saver can compress or resize some photos and videos. That distinction is especially important for large photos, 4K clips and images you may edit or print later. Choosing Original quality today does not prove every older upload was made using that setting; inspect the actual backup details.
Choose the method that suits your phones
| Method | Best use | Watch out for |
|---|---|---|
| USB to computer | Large offline collections and archive copies | Use a data-capable cable; include all relevant folders |
| Google Photos Original quality | Cloud access on Android and iPhone | Storage usage, incomplete backups and older compressed uploads |
| AirDrop on Apple devices | Nearby iPhone/iPad/Mac transfers | Sharing format options and original metadata settings |
| Original-file sharing | Individual files through file-sharing tools | Confirm the app sends files, not optimized previews |
| Chat or social sharing | Quick viewing | May apply compression or format conversion |
If you’re moving to a new handset, pick your method before committing. Storage capacity and file support can matter more than the headline camera specification. The MobileFone phone directory is useful for comparing recorded storage variants, but it cannot replace checking the destination’s actual free space and supported formats.

Copy Android camera files through a computer
For a Windows computer, Google’s Android file-transfer guidance says to unlock the phone, connect a USB cable, select File Transfer from the USB notification and copy the needed files. Common camera folders include DCIM and Pictures, although manufacturers and apps can store images elsewhere. Copy first; do not use “move” and leave yourself with no second copy while checking the destination.
- Connect the original Android phone with a cable that supports data, not charging only.
- Unlock it and select the USB file-transfer mode if prompted.
- Copy DCIM, Pictures and other relevant folders to a clearly named folder on the computer.
- Open several copied originals, including a long video and a portrait photo.
- Transfer them to the new device using a supported file-transfer route, retaining the computer archive until verified.
Some gallery albums are visual groupings rather than physical folders. A complete DCIM copy may therefore not recreate every album name automatically. Cloud-only photos may not be stored on the phone at all, and app-private folders can have access restrictions. Check those separately before assuming everything has been archived.
Use Google Photos without accidental resizing
In Google Photos, open your profile, go to Photos settings, then Backup and the photo/video quality controls if they are available on your version. Choose Original quality before uploading new material you need to preserve. Google’s documented path can change with app and operating-system versions, and the setting applies under specific conditions; consult the app’s own backup details rather than relying on a remembered screen path.
Wait for backup completion on the source device. On the receiving device, sign into the same Google account and inspect older and newer items. Seeing a thumbnail does not guarantee a full-resolution local download exists. For an offline archive, download the actual original and compare details. Also check whether your account has enough storage: quality settings do not bypass quota limits.
On iPhone, check the share format and metadata
Apple’s Photos sharing guide explains that the Share menu may offer format controls such as Current or Most Compatible, and options concerning photo data. Choosing a compatibility format can result in a converted file. For an original archive between supported Apple devices, review the relevant sharing options and, when available, the setting to include original photo data; do not assume every receiving app retains live-photo components, edit history or metadata.
If the destination is Android or Windows, choose a transfer method that accepts the actual file type. A phone may display HEIC images differently from JPEG, and a viewer’s inability to open a format is not proof that its pixels were lost. Keep the original in a separate folder before converting for compatibility. If moving between devices that support newer formats, a device-to-device move may be convenient, but an independent backup still protects against interrupted transfers.
Run a quick quality audit before deleting originals
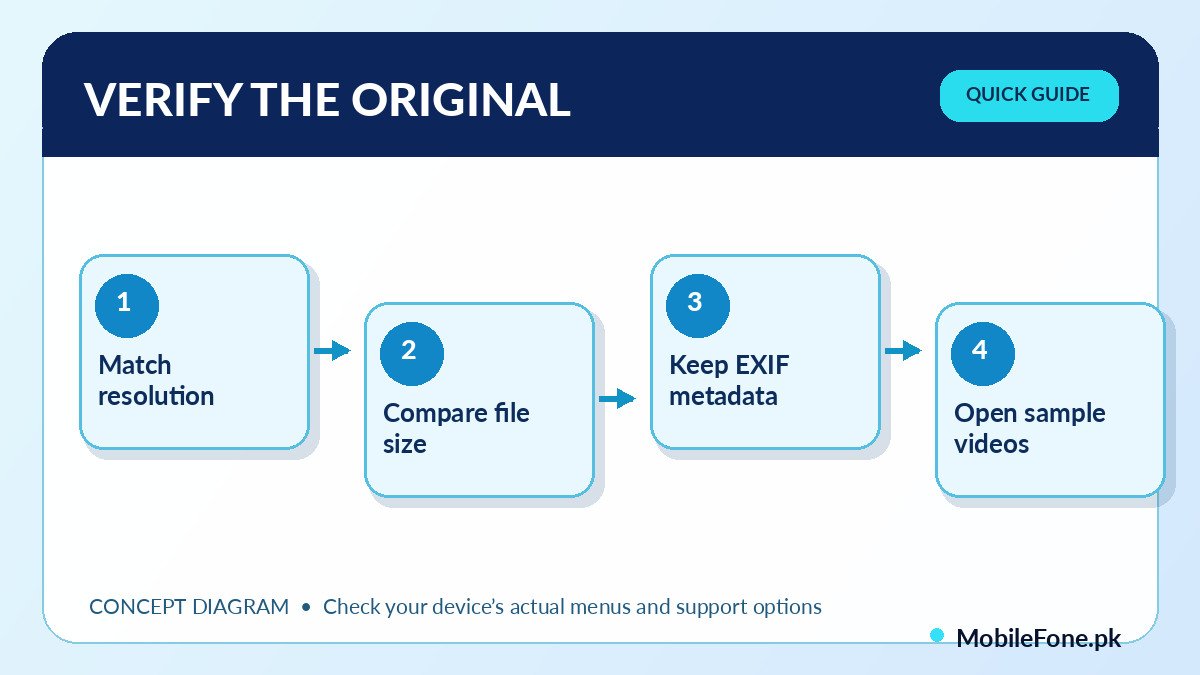
- Compare pixel dimensions on source and destination for several photos.
- Compare file type and approximate file size; differences may signal conversion, though metadata changes also affect size.
- Check date, camera information and location metadata if those details matter to you.
- Play a long video to the end, not only its first frame.
- Look for duplicates, missing folders, incomplete Live Photos or motion images and edits that did not travel.
For people upgrading their phones, it helps to check the planned device’s storage range before moving years of media. The latest mobile listings give a starting point for comparing models, but your own archive size is the number to plan around. A local folder plus a separate backup is safer than trusting an app preview as the only copy.
The practical rule is simple: keep the original file until the destination copy has been opened and verified. Compression is not always bad for everyday sharing, but it is the wrong choice when you are preserving family photographs, work images, long videos or an editable personal archive.